Description

📦 Package:
Pack#1:
| 10mmx75MM Shoulder Hex Bolts | 2 PCS |
| 10mmx70mm Shoulder Hex Bolts | 4 PCS |
| 10mmx25mmx2mm Washers | 12 PCS |
| 10mm Anti-slip nuts | 6 PCS |
| 10mmx45MM Shoulder Hex Bolts | 6 PCS |
| 10mmx25mm x2mm washers | 12 PCS |
| 10mm Anti-slip Nuts | 6 PCS |
| 10mmx45MM Hex-head Bolts | 2 PCS |
| 10mmx25mm x2mm washers | 2 PCS |
| 10mm Anti-slip Nuts | 2 PCS |
| 10mmx25mm Shoulder Hex Bolts | 6 PCS |
| 10mmx25mm x2mm washers | 12 PCS |
| 10mm Anti-slip Nuts | 6 PCS |
| 6mmx40mm Shoulder Hex Bolts | 4 PCS |
| 6mmx18mm x1.5mm washers | 4 PCS |
| 6mmx40mm Countersink Bolts | 8 PCS |

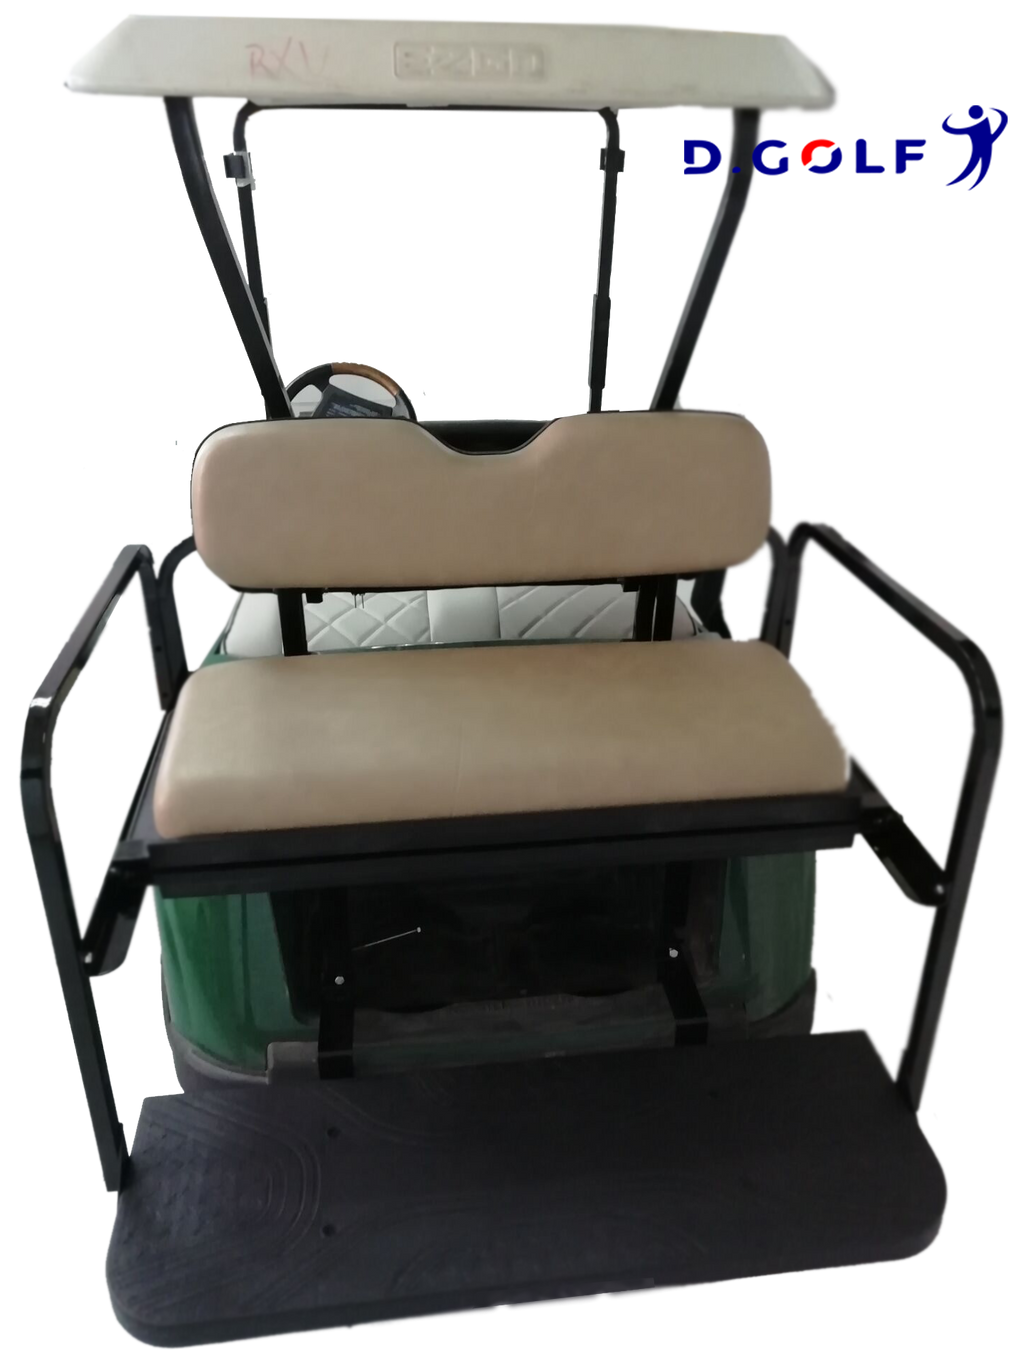
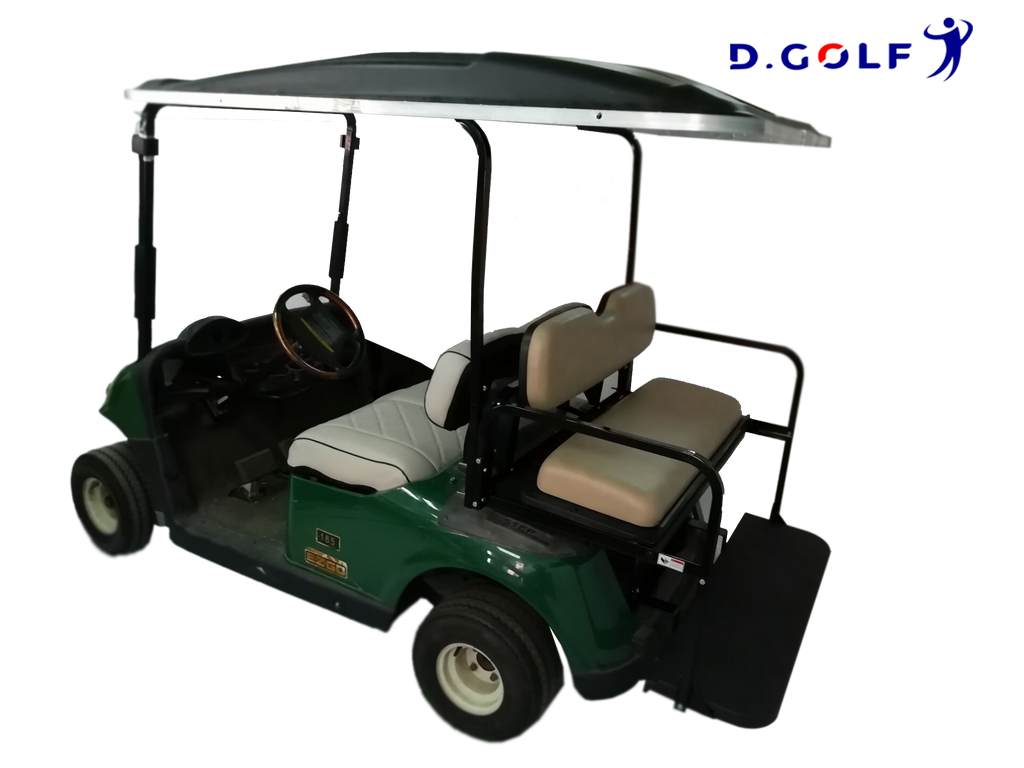
Installation:
1. Using a T45 Torx driver, remove four bolts holding factory bag attachment to rest strut assembly.

2. Remove front seat bench and front seat lean back. Retain Hardware.

3. Remove motor cover. Retain hardware.

4. Prop up canopy.

5. Remove bolts attaching factory seat/ support and roof struts. Retain hardware.

6.Remove bolts attaching factory seat /strut support bar to frame. Remove factory seat/strut bars.

7. Replace with seat/strut support bar using same hardware. Reinstall bolts through frame. Tighten completely.

8. Using retained hardware from Step 5, attach main seat frame brackets to rear strut assembly ( roof strut and seat/strut support bar). Ensure that flat side of bracket faces to the outside of the cart. Finger Tighten only!

9. Reinstall motor cover.

10. Using a Torx T45 drive or bit, remove two outermost rear bolts from bag well. Attach bag well bracket using the bolts from hardware pack#2. Tighten completely.

11. Place sear frame on bag well bracket. Using hardware pack#4, attach seat frame to bottom of main seat frame bracket. Using remaining hardware from hardware pack #4, attach seat frame to bag well bracket.

12. Place horizontal support bar on seat frame, using hardware pack #1, attach each armrest to horizontal support bar and frame. Use countersink screw , washer and nylon lock nut to attach armrest to rear of frame.

13. Using hardware pack 4, attach footrest to bag well bracket.

14. Using longest bolts in hardware pack#1 attach armrest to footrest with footrest support brackets in between armrest and footrest.

15. Using retained hardware from step 2, reinstall front seat lean back.

16. Attach rest seat lean back brackets to resr seat lean back using hardware pack#5.

17. Using hardware pack#2, attached horizontal lean back to upper hole of main seat frame bracket. Tighten all hardware. Attach rear seat lean back assembly to horizontal lean back bar.

18. Using self-taping screw from hardware pack#6, attach rear seat bench to seat frame.
Congratulations!